Babyled weaning is the ideal way to transition your kiddo to solids, but that didn’t work out in our house.. for many reasons. So, after many test rounds, I have a system perfected for making homemade pouches. In this three part series, I’ll share my prep work, storage of ingredients, full process, and a few recipes. Plus, all of the tools I use to make this easier.
I’ve found, for me, that making a TON of them in a day or two is best. You could do just one batch, but since I have everything set up, I prefer doing it over two days. Day one (this post) I do prep work, measuring, bagging, any additional shopping, cooking. Day two I do my puréeing and pouch filling.
Recipes
Your recipes will vary depending on your child’s safe foods, preferences, and nutritional needs. For Jett, he really won’t eat more than 4 oz of food at a time so I try and pack calories into his purées. He prefers the flavors of banana, coconut, strawberry, pineapple, etc. so I use those flavors to mask stronger vegetables he otherwise wouldn’t eat.
Preparation
You’d think I’d plan better after making these pouches for 8 or so months. On the first day, I take my stash of frozen fruits and vegetables out of our deep freezer. We buy organic frozen fruits so I don’t have to wash and cut them. Some organic frozen vegetables too. For fruits like strawberries, mango, peaches, pineapple, papaya, and blueberries, I don’t boil them. I do boil pears and apples. All vegetables I boil or cook in our Instant Pot. Any fruits and vegetables I have left over, I label and freeze in Jett’s special bins in the deep freezer for use in the next pouch making session.
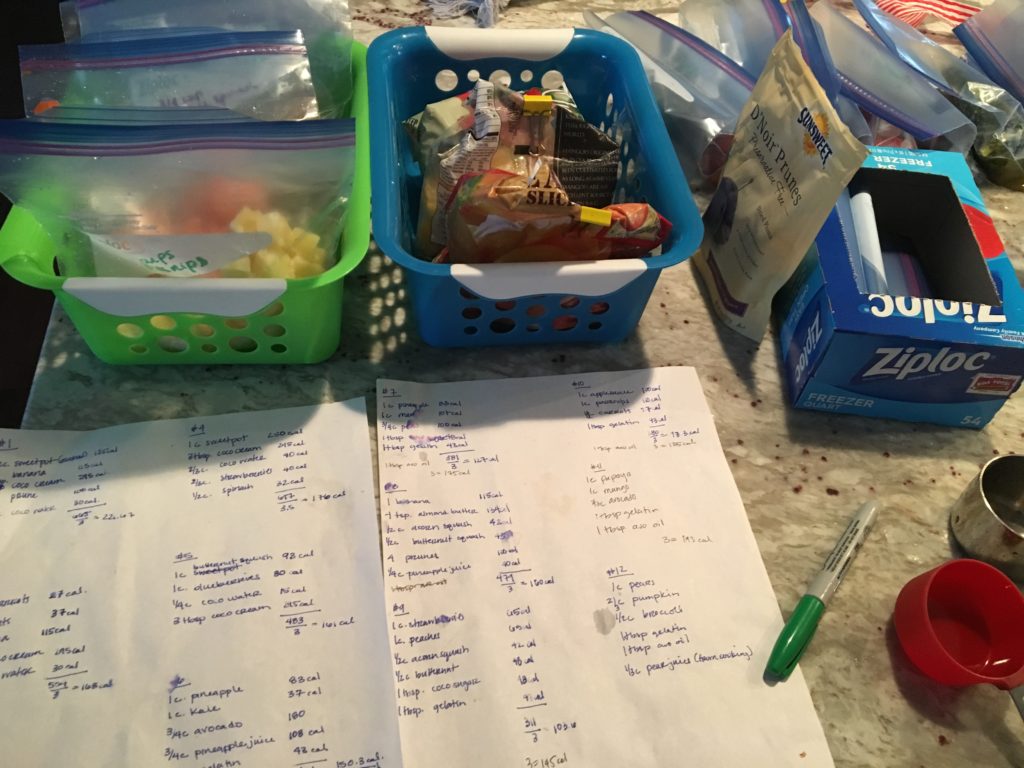
Baskets of frozen goodies, recipes, ziplock bags, and sharpie.
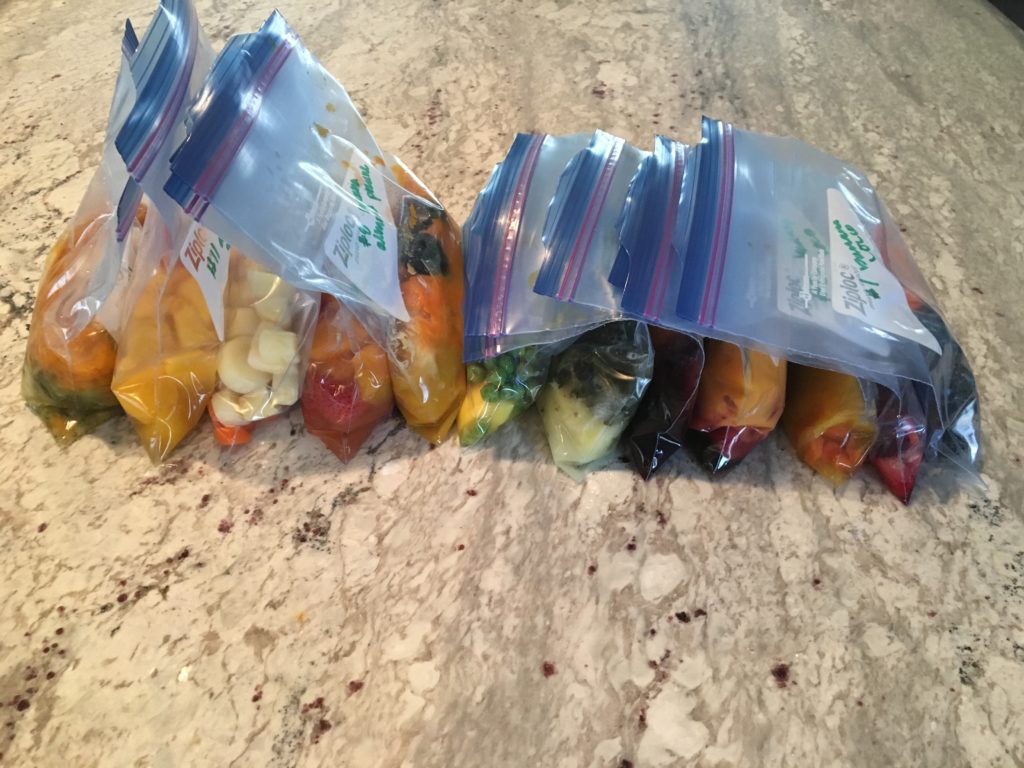
So, I have my bins out and my recipes in front of me. I label a ziplock bag with my recipe number and start measuring out my ingredients and dumping them in the bag. Every ingredient I don’t have made and frozen, I write on the bag. I leave things like fresh fruits (avocado, banana), coconut cream, almond butter, unflavored gelatin, and avocado oil out and add them directly to the NutriBullet cup when blending. These ingredients stick to the bag or don’t refrigerate well.
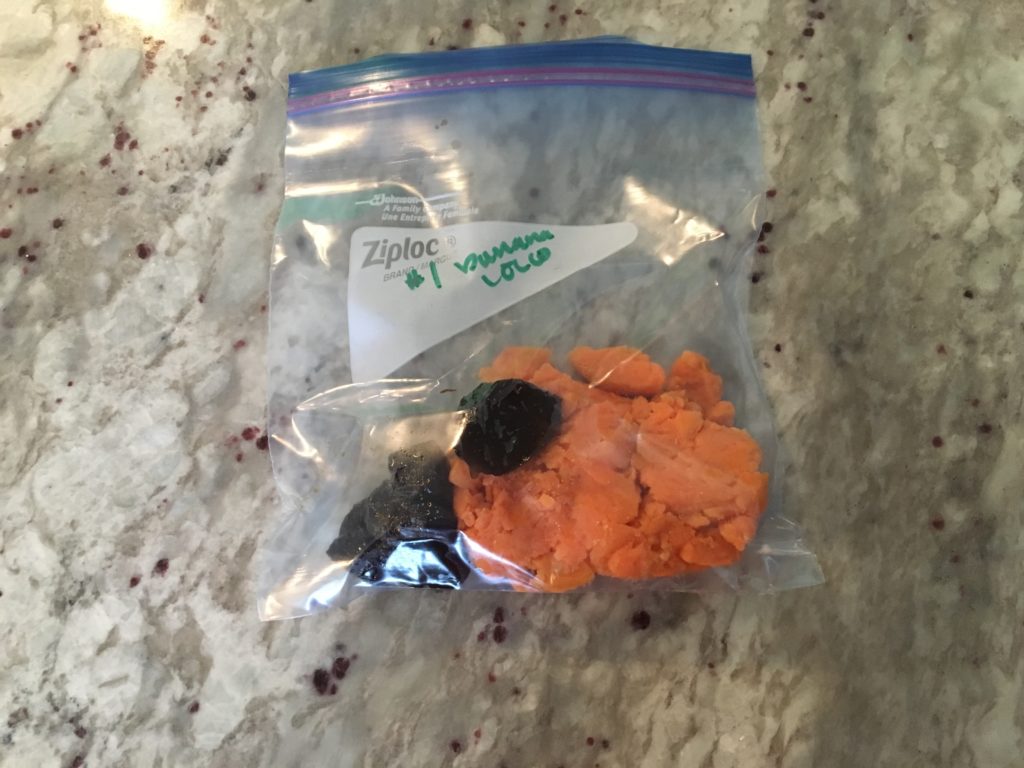
Mashed, cooked sweet potato and prunes. Ready for the banana and coconut cream right before pureeing.
Make a List
I always have to run (or send my AMAZING husband) to the grocery store later this day. I never have every ingredient I need and it’s so hard for me to just look through things without measuring them out and finding every last thing I’m missing. So, if you can just make a list, do it that way! Then go back and measure your foods out. But I make my list as I write things on my ziplock bags.
Washing, Cutting, Cooking
Once I (or my awesome husband) run to the store, I’m ready to cook everything else I need for the pouches. Fill up a few kettles with water and start them on the stove. I wash, peel and cut things like sweet potatoes, pears, and carrots. These get boiled on the stove. Squashes I cut in half and de-seed. They go in the Instant Pot. Peeling squash and cutting it into small pieces is hard work! This is so much easier and it comes out so soft and easy to purée. You can just scoop it out of the skin. I love my Instant Pot!!
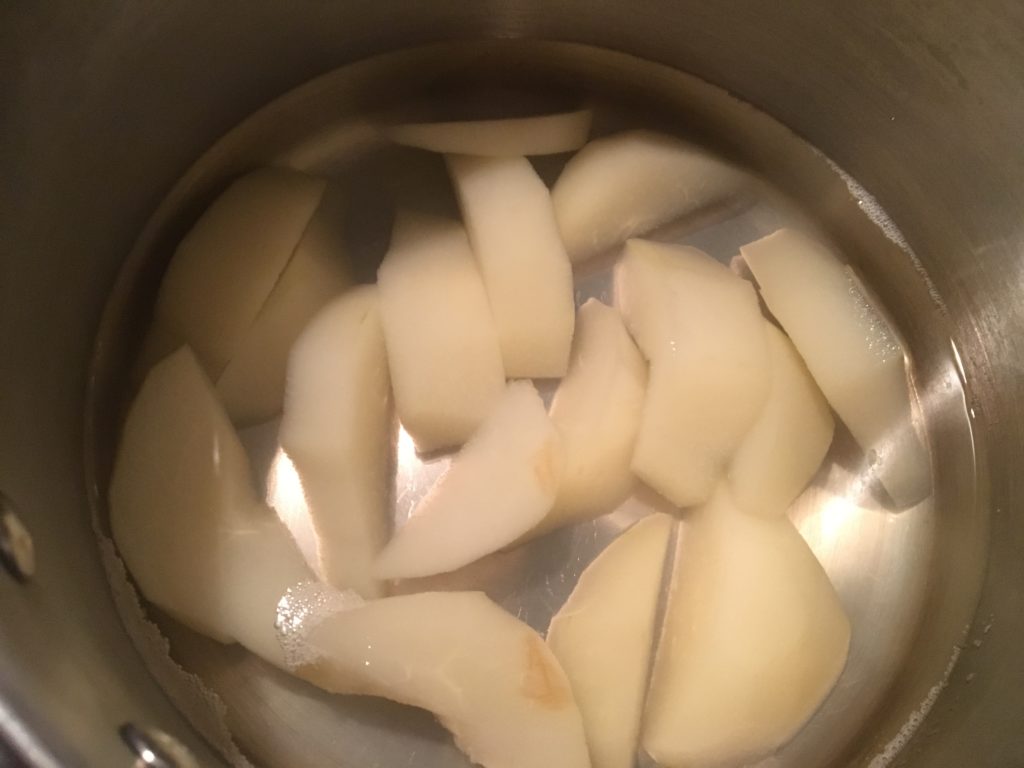
Boiled pears- I reserve some of their cooking liquid
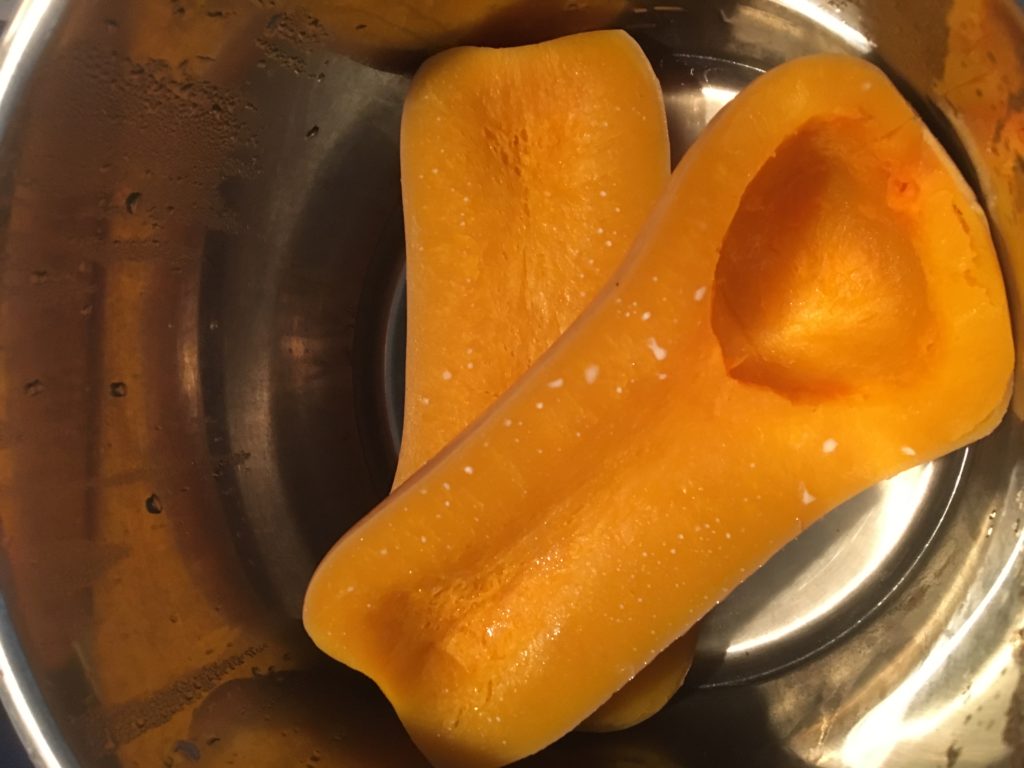
Cooked butternut squash in the Instant Pot
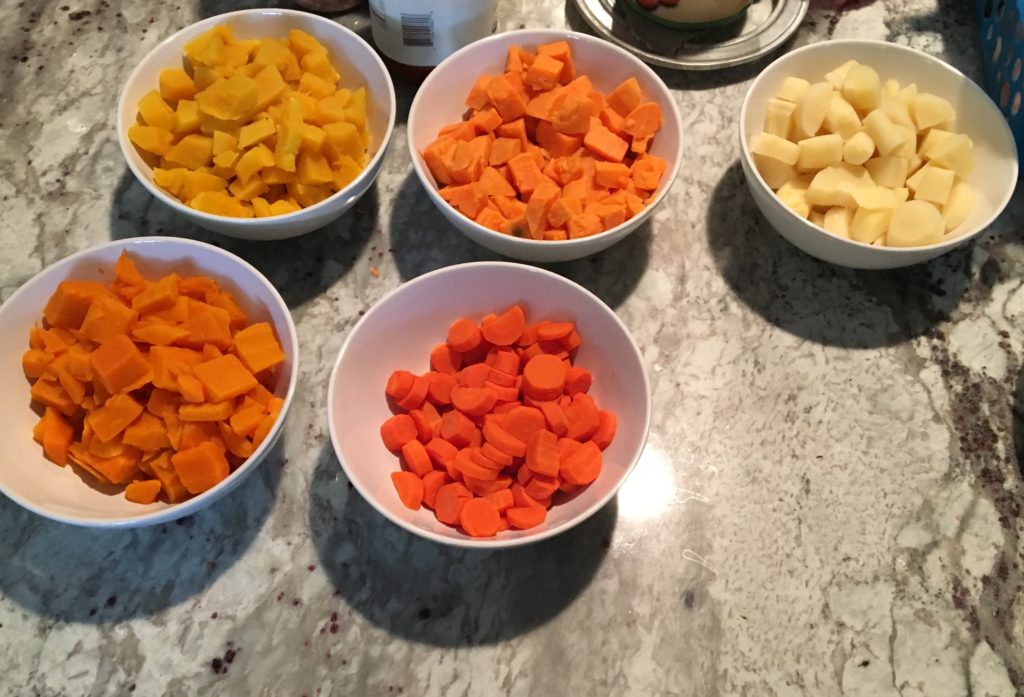
Storage
After everything is cooked and the water is drained off, I put my veggies in bowls in the fridge overnight. I don’t like adding hot food to ziplock bags so this gives them time to cool off.
Cooked acorn squash, sweet potatoes, parsnips, butternut squash, carrots- this was before I bought my Instant Pot. Now my squashes look more mashed.
That’s it for day one! You’ll have your foods all ready to go in the morning and most of them measured out.
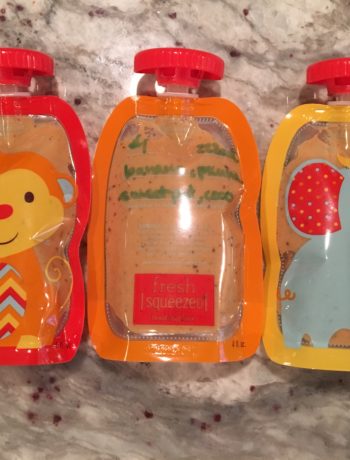
Blueberry, Butternut Squash, Coconut Baby Food Purée
Print RecipeIngredients
- 1 cup organic blueberries, frozen defrosted
- 1 cup organic butternut squash, cooked and mashed
- 3 tbsp. coconut cream
- 1/4 cup coconut water
Instructions
Combine all ingredients into a blender cup and purée until smooth
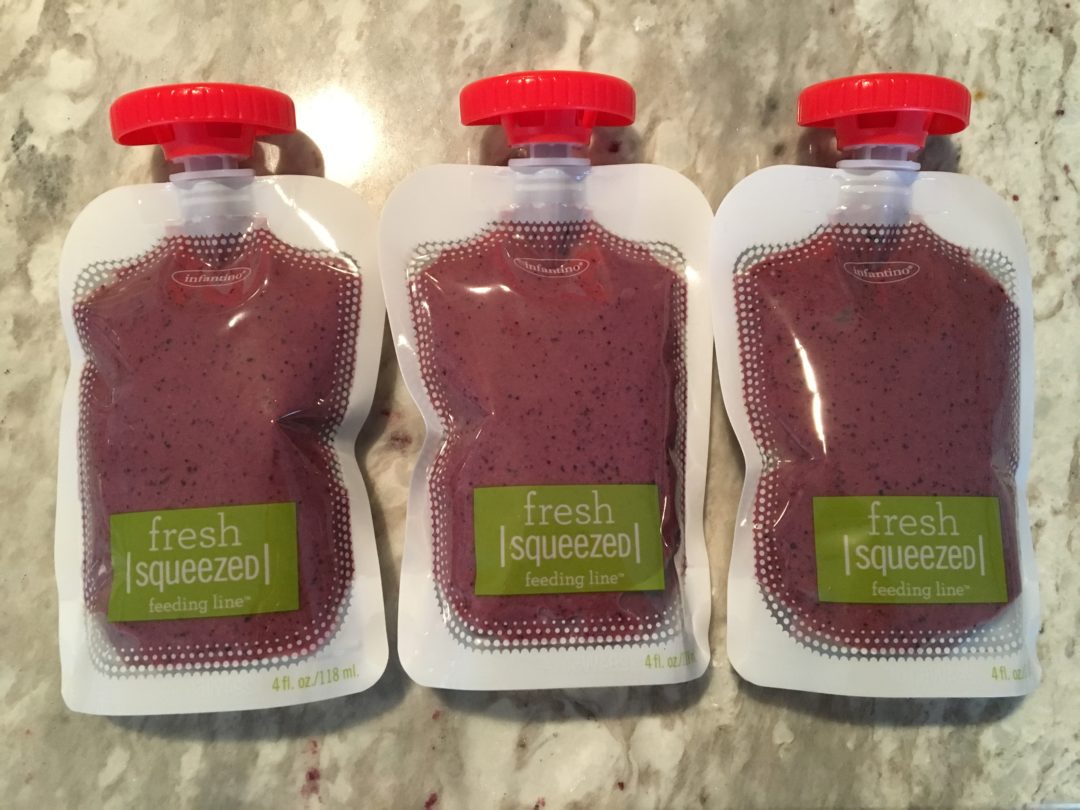
Write your recipe, date, and calorie information on 3 disposable pouches
Use your Squeeze Station to dispense into disposable pouches
Massage the purée to the bottom of the pouches
Remove pouches from the Squeeze Station and screw their caps on
Refrigerate for up to three days or freeze for up to three months
Detailed blog post on Part Two