Whether you’re dealing with a picky baby or toddler and want to pack healthy food into them, or dealing with food allergies, homemade pouches are the way to go!! They’re easy to travel with, fast to defrost, and customizable. I use them for traveling with my smoothies too!
In this post I’ll share the tools you need to make these pouches. Also, a recipe! You can find Part One of the Homemade Baby Food Pouches three part series HERE.
Tools
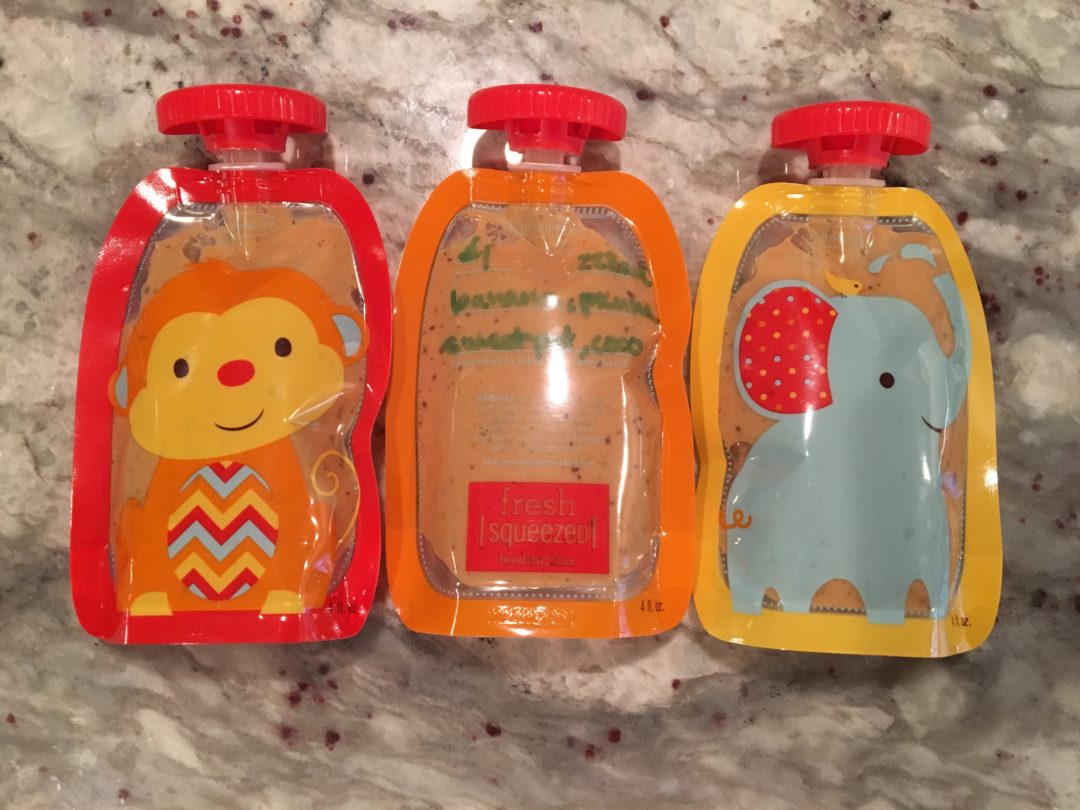
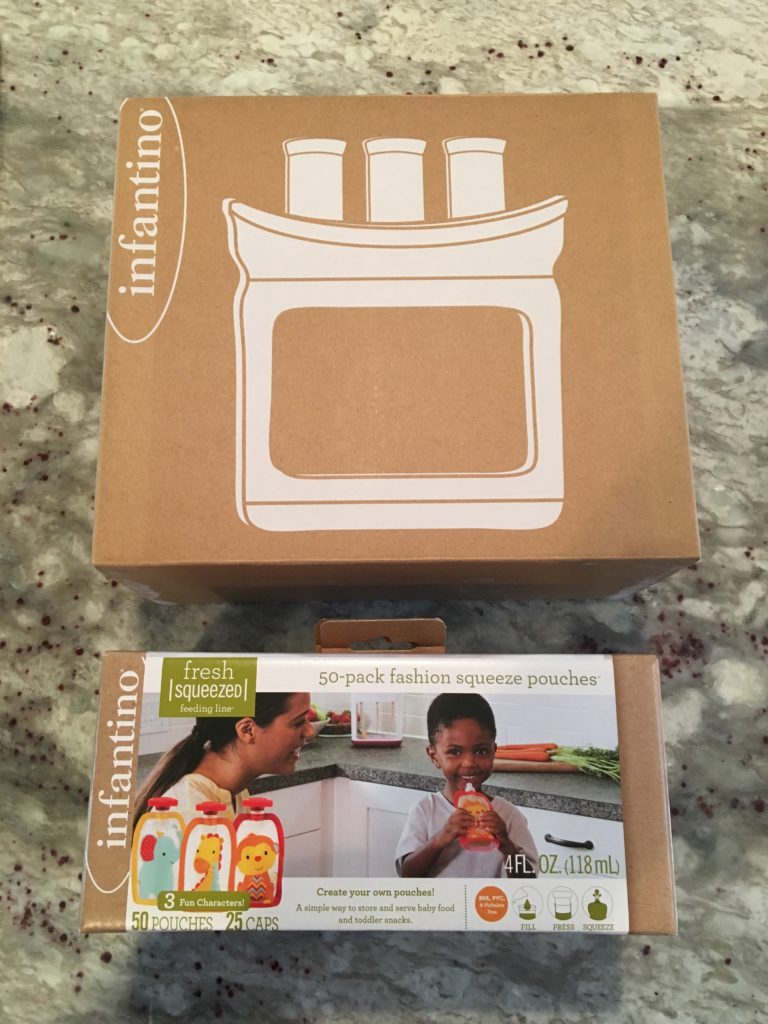
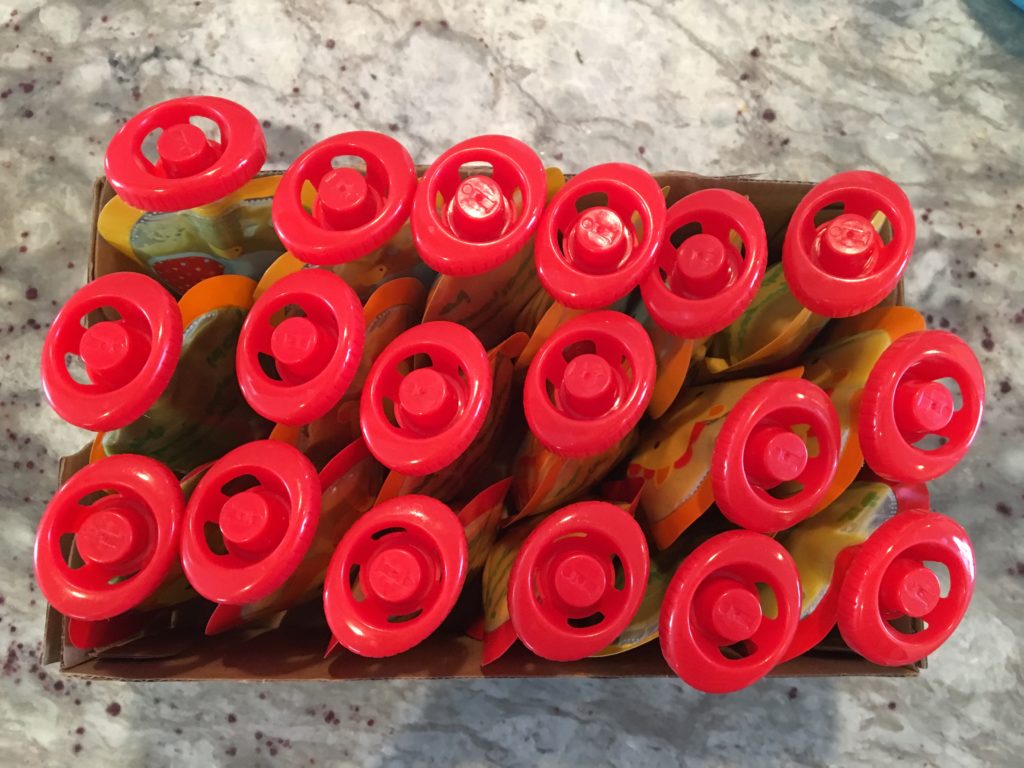
I LOVE the idea of reusable pouches like these silicone ones, but since I make 36 pouches at a time, it isn’t realistic for us. Also, we wash so many dishes already, disposable was right for our family. I was gifted this amazing Infantino Squeeze Station for my baby shower. Little did I know it would be so necessary for our family. It comes with a few disposable pouches, three dispensers, one plunger, and the stand. I purchase the disposable pouches on Amazon. They have cute animal ones that are sometimes cheaper than the plain pouches! We’ve bought and tried both the Squooshi reusable animal pouches and the WeeSprout reusable pouches. Both don’t get clean in the dishwasher, the zippers don’t stay open even when separated on two dishwasher prongs so water doesn’t spray inside. And they fold over and the top part doesn’t get cleaned at all. So, plan on hand washing these. The other nice thing about disposables is you don’t have to worry about cross contamination if your kiddo is trialing a new food. You can also label them with permanent marker.
The NutriBullet is the most used tool in our kitchen. I use it to make my smoothies every morning. Early on in my TED, I made smoothies TWICE a day with it. The cups are perfect size for smoothies and these pouches. Since you’re blending such a small volume, the cup should be small or you’ll have to add a lot of additional liquid to get a smooth purée. For the pouches, I use the short cup.
Preparation
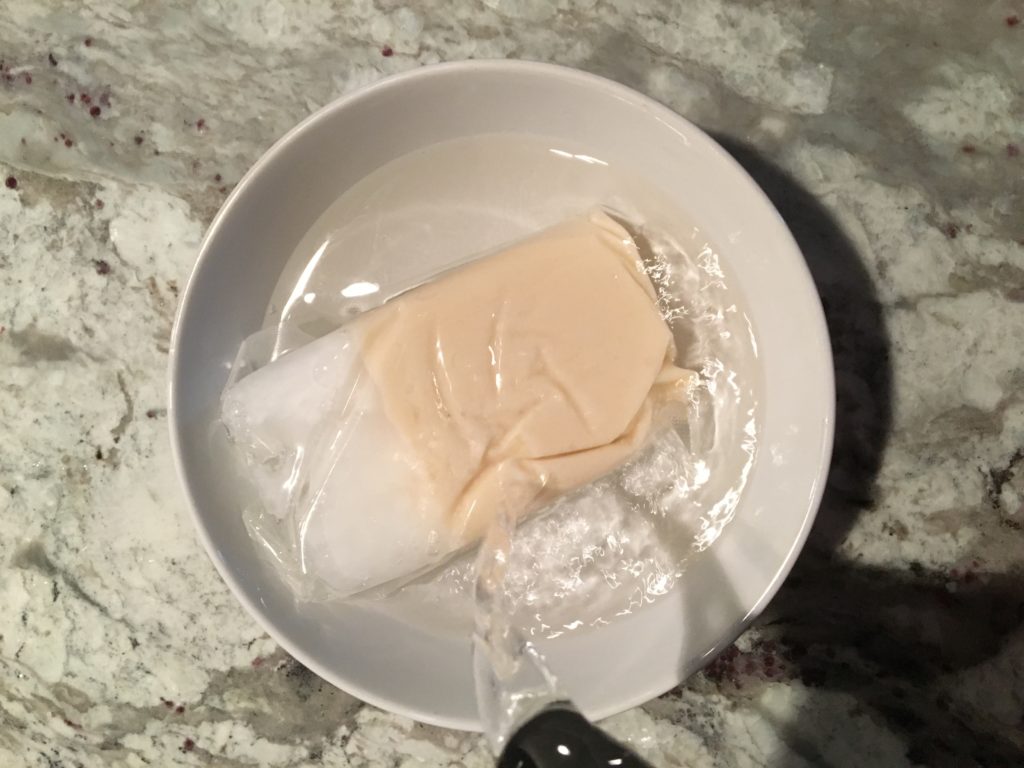
Most of my food is measured and ready to go. I take my ziplock bags out of the fridge along with the food that I cooked the evening before. Things like avocados, bananas, coconut cream, etc. come out now too. This round of purées, I’ll be using coconut cream. It’s not super easy to work with as it’s solid at room temperature. Defrosting it is easiest in a bowl of very hot water. I let the cream sit in the hot water for a few minutes, then shake it and do it again. After a few cycles, break the remaining hard piece up and pour more hot water over the cream.
Note- If you’re not concerned with the extra calories, regular full fat coconut milk is fine to substitute for the coconut cream and coconut water. We like Trader Joe’s organic coconut milk. It doesn’t have any added gums or stabilizers.
Homemade Baby Food Pouches
Pulling these together is super easy. It takes me about 10 minutes to dump my ingredients into the blender cup, purée them, and squeeze them into the pouches. I grab my ziplock bag that’s labeled with the missing ingredients.
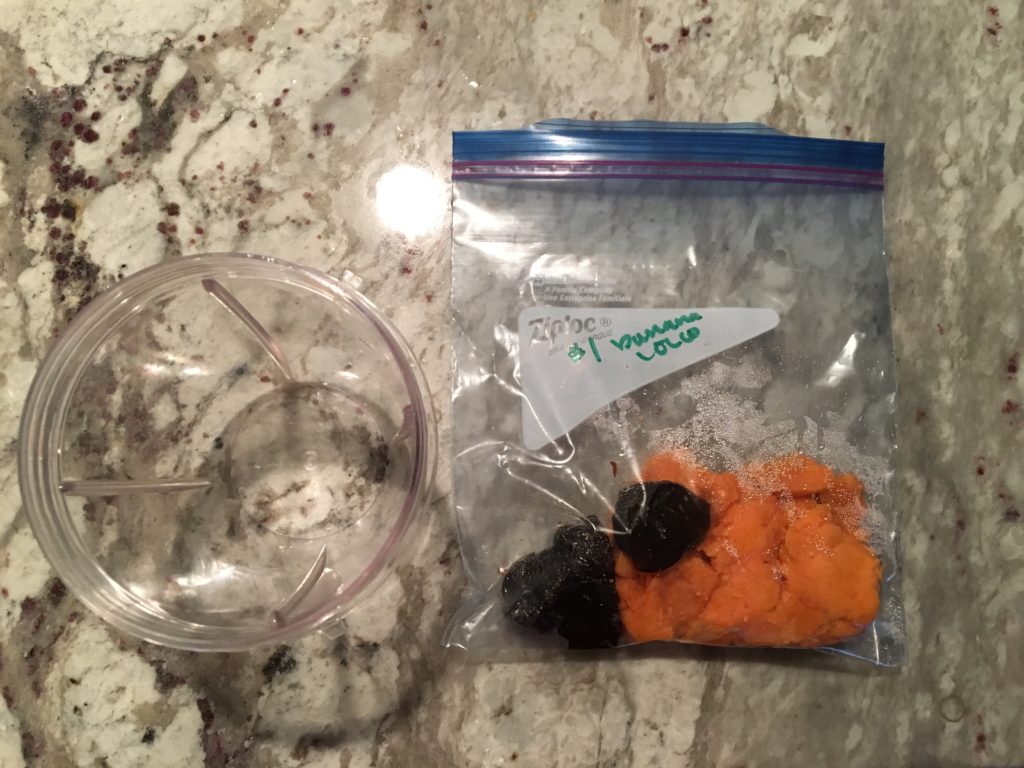
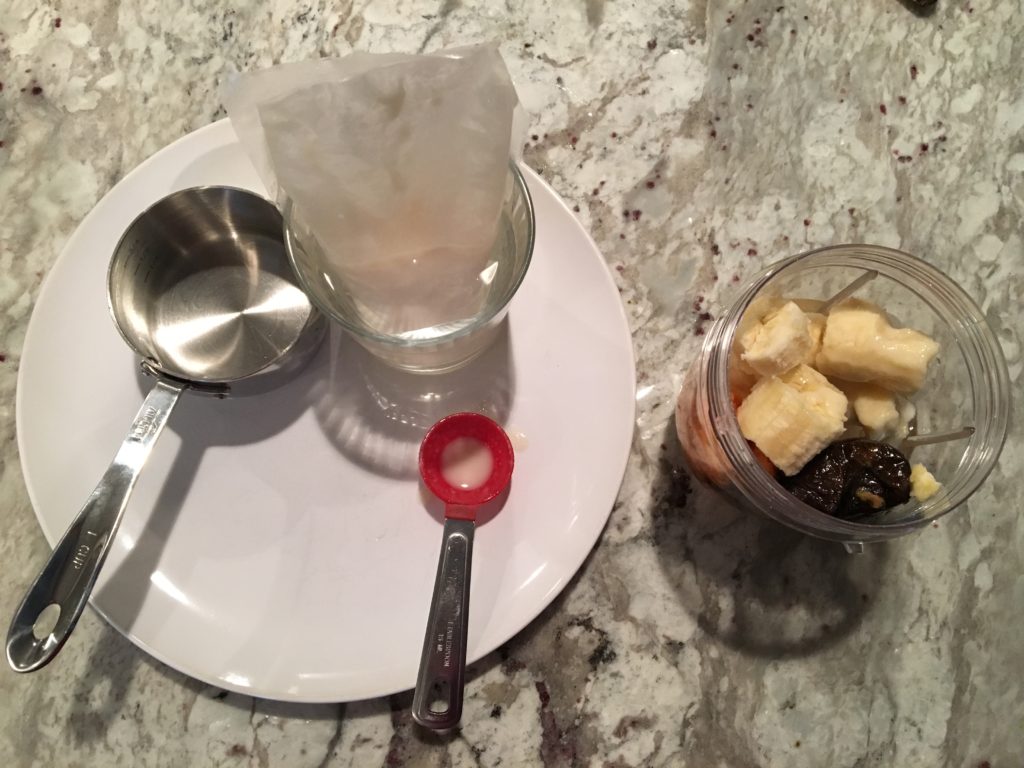
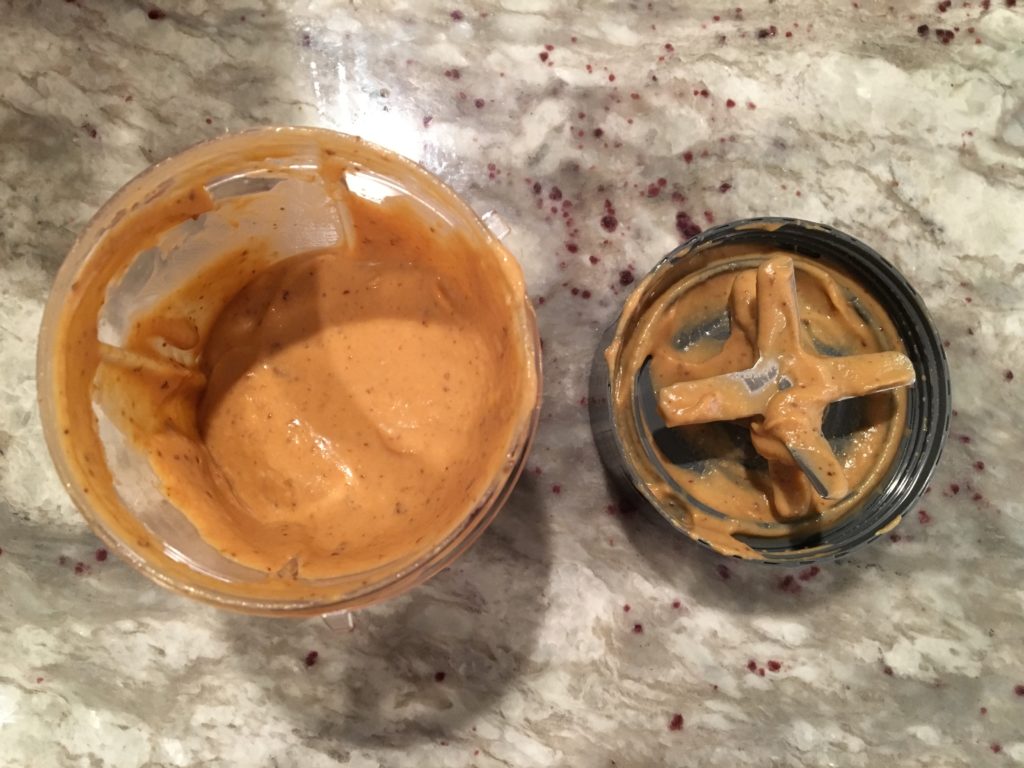
I dump the contents into the blender cup and add my banana, coconut water, and melted coconut cream. While I’m working on these five recipes, I keep the coconut cream in a cup of hot water to keep it melted and up right.
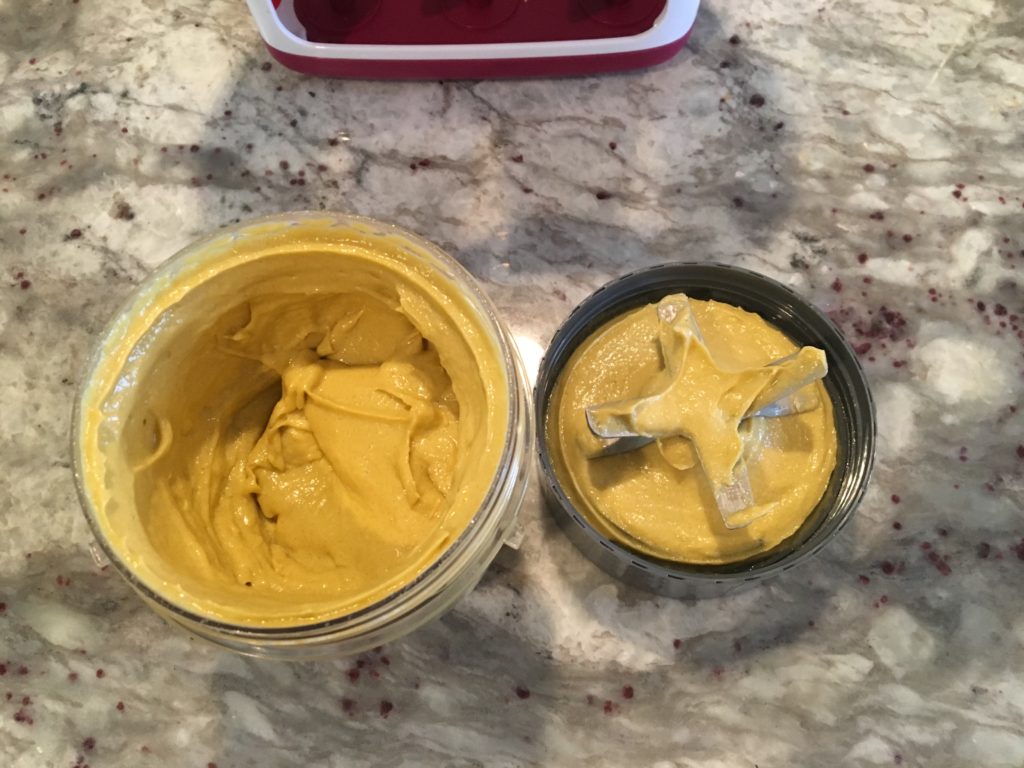
Next, I screw the blender blades on the cup and purée it until it’s completely smooth. The NutriBullet is great for this!
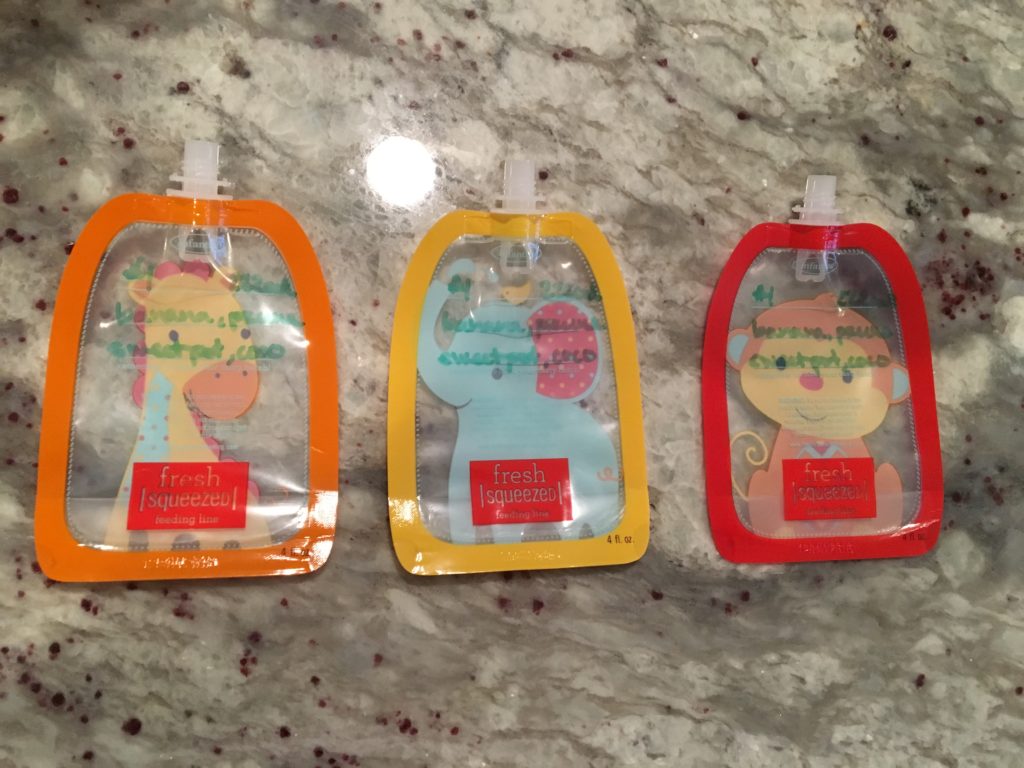
I leave the lid on to let the purée settle while I label the pouches. This is another reason why I love the disposable pouches. It’s so handy to write your recipe and dates on the pouches. I also label them with the calorie information as that’s important to us since Jett doesn’t eat independently.
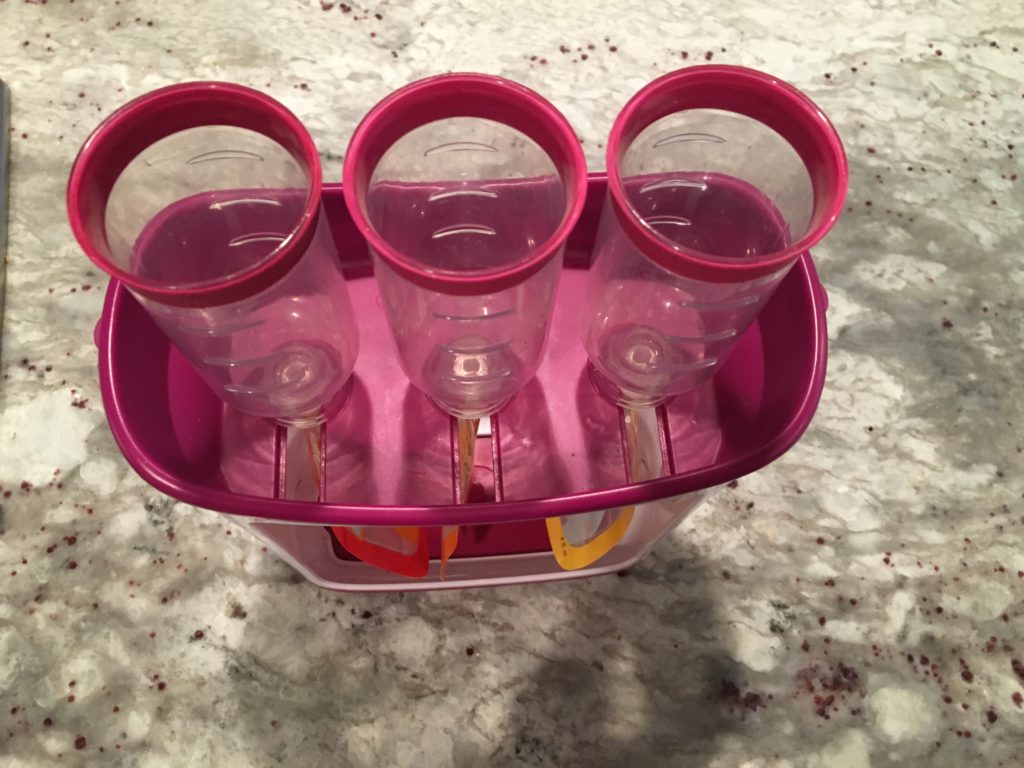
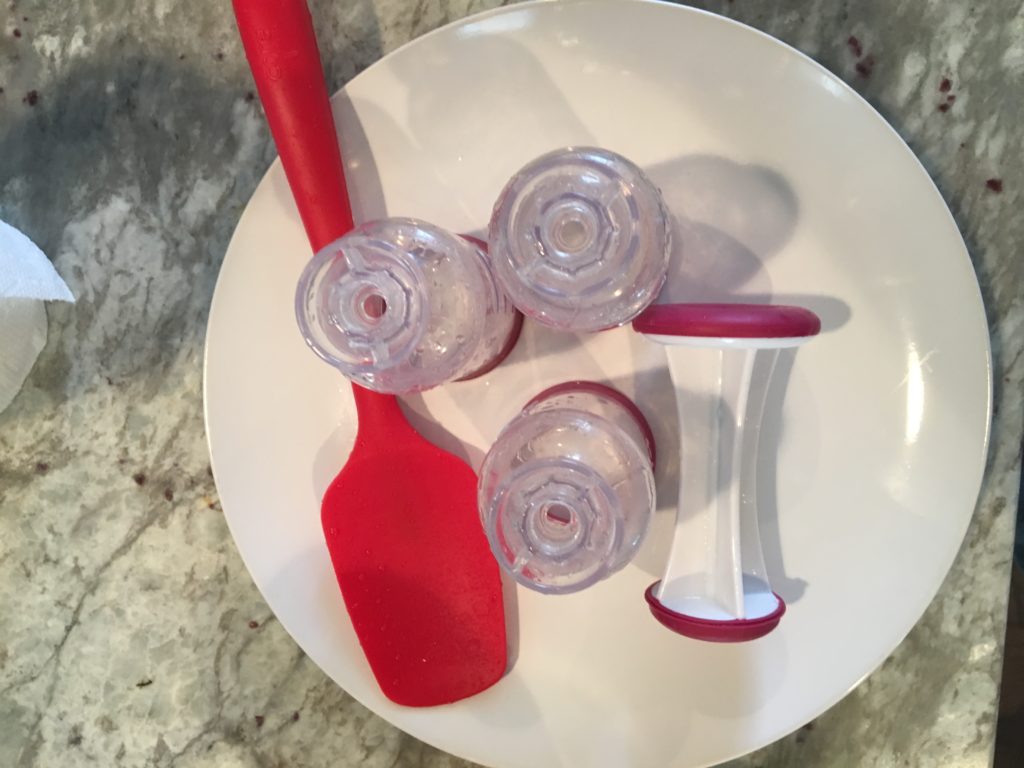
I find that wiggling the bottoms of the pouches before placing them in the squeeze station helps when squeezing the purée in to them. Next, place the pouches in the station and attach your dispensers.
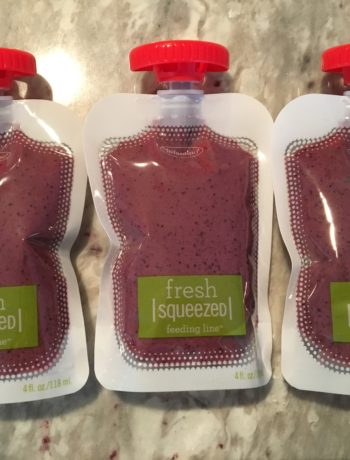
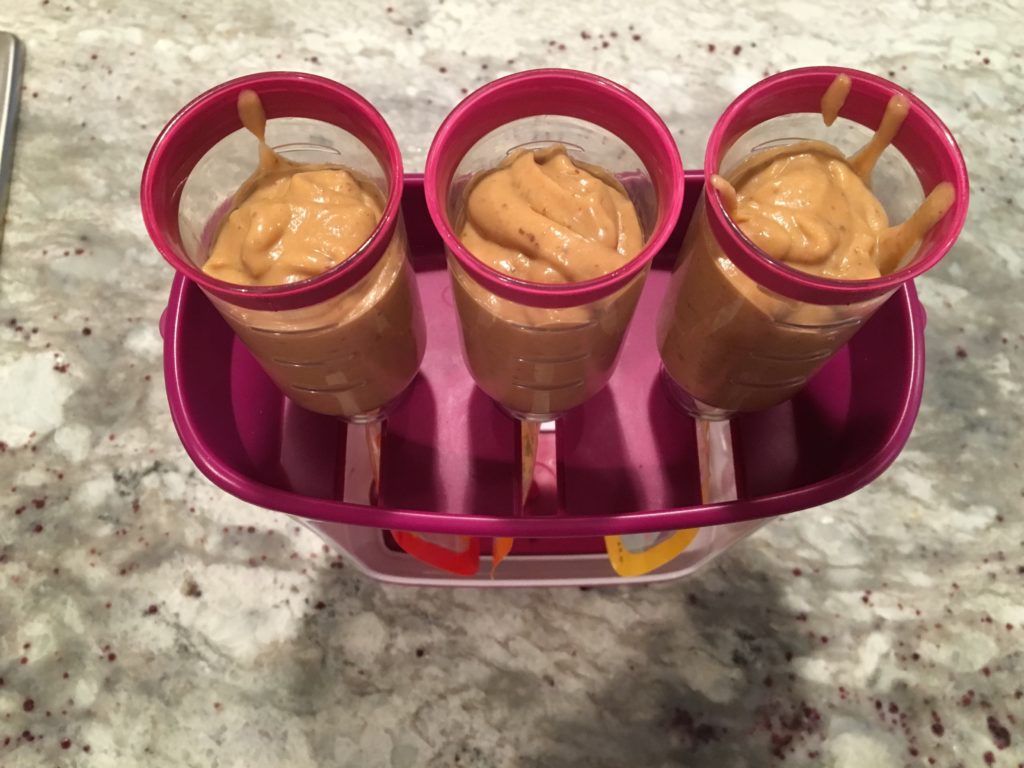
I use a silicone spatula to scrape the purées into the dispensers and fill them up to the top line. Use the included plunger to squeeze the purée into the pouches. Then, use your hand to massage the purée down to the bottom of the pouches.
Use a paper towel to clean the top of the pouch nozzles off and push them out of the dispenser. Then screw the lids on the pouches and you’re done with one recipe!
Clean Up
Between batches, I use a plate to carry my pouch making tools to and from the sink. You really need hot water to rinse the parts clean. As soon as the purée is squeezed into the pouches, I rinse the dispensers and plunger and set them in the sink to drip dry a little bit. If you’re only making one recipe, you’re done here. If not, just repeat by dumping the contents of your next ziplock baggie in to the rinsed out blender cup.
Storage
I use an empty shoebox or one of the boxes that the disposable pouches come in to store Jett’s pouches in our freezer. It works well for us. To defrost, I boil water in our electric kettle and pour it over a pouch in a bowl. It takes about 10 minutes to defrost this way. They’re good for three days in the fridge or three months in the freezer, we use ours within about a month.
Banana, Coconut, Prune, Sweet Potato Baby Food Purée
Print RecipeIngredients
- 4 prunes
- 1/2 cup cooked, mashed sweet potato
- 1 banana, broken into chunks
- 3 tbsp coconut cream
- 1/2 cup coconut water
Instructions
Combine all ingredients into a blender cup and purée until smooth
Write your recipe, date, and calorie information on 3 disposable pouches
Use your Squeeze Station to dispense into disposable pouches
Massage the purée to the bottom of the pouches
Remove pouches from the Squeeze Station and screw their caps on
Refrigerate for up to three days or freeze for up to three months